IMPORTANT: Attach Antenna Before Powering On!
Always connect an antenna to your device BEFORE plugging in USB or turning it on. Transmitting without an antenna can permanently damage the LoRa radio chip. Even a few seconds of transmission without an antenna can cause irreversible damage. This applies to flashing AND normal use.
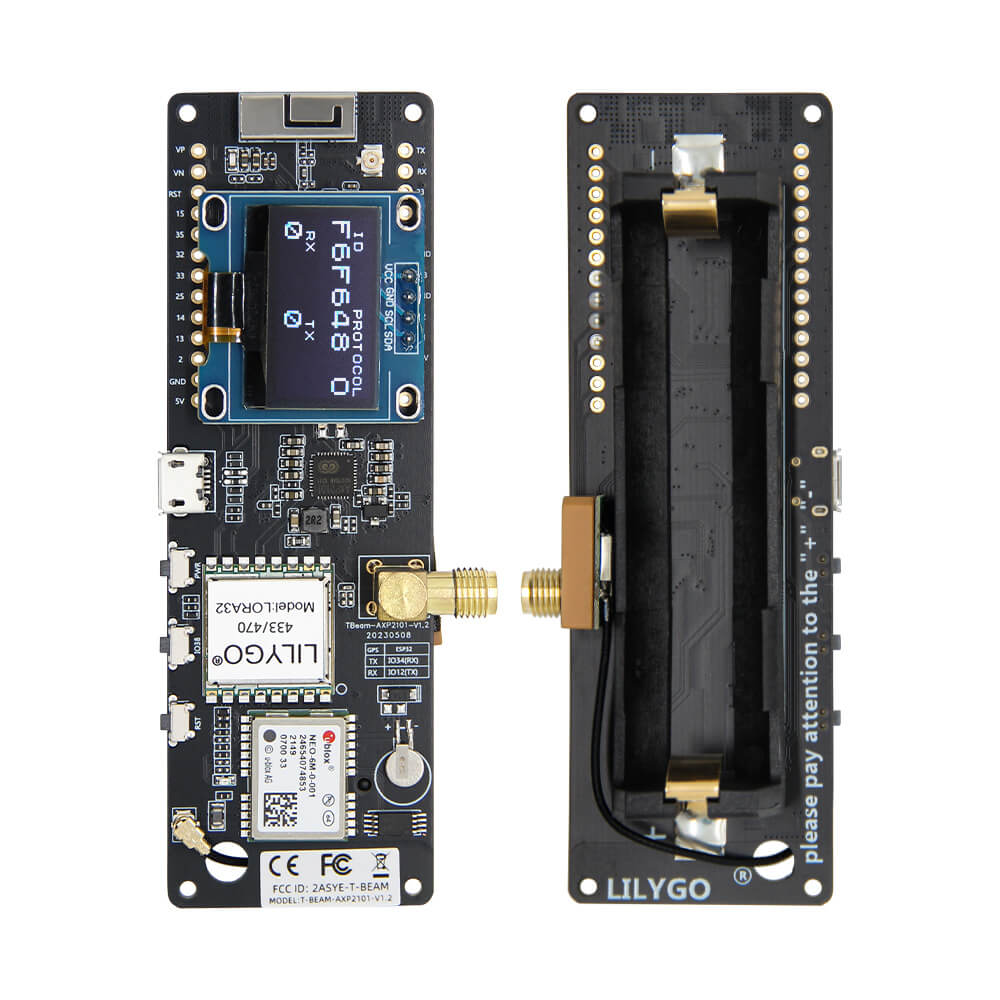
Step 1: Enter DFU/Bootloader Mode
Method: Boot Button
- 1 Unplug the device from USB
- 2 Press and hold the BOOT button (labeled "IO0" on some versions)
- 3 While holding BOOT, plug in the USB cable
- 4 Release the BOOT button after 2 seconds
- 5 Device should now be in DFU mode
Note: Alternative: Hold BOOT, briefly press RST, release BOOT
Step 2: Install Drivers (if needed)
CP210x USB to UART Bridge
May be needed on some Windows systems
Step 3: Flash Firmware
Open the web flasher for your chosen firmware in Chrome or Edge browser:
Step 4: Post-Flash Configuration
MeshCore Setup
- Device will reboot - GPS may take a few minutes to get first fix
- Connect via Bluetooth using the MeshCore app
- Set frequency to 915 MHz (US)
- GPS should auto-update your location
- Configure node name and role
Meshtastic Setup
- Device will reboot automatically
- GPS will begin acquiring satellites
- Set region to "US" in the app
- Position module should auto-enable with GPS
- Configure node identity
US Users: Set frequency/region to 915 MHz (US). This ensures compatibility with the NodakMesh network and other US mesh networks!
Tips & Notes
- IMPORTANT: Select the correct radio variant (SX1262 or SX1276) in the flasher
- Check the chip marking on your board to identify the variant
- 18650 battery holder - use protected cells only
- Built-in GPS antenna works well, external antenna optional
- AXP power management chip handles battery charging