Meshtastic MQTT Setup: Bridge Your Mesh to the Internet
Set up MQTT on Meshtastic to bridge your LoRa mesh to the internet. Uplink/downlink, public vs self-hosted broker, Home Assistant, Grafana.

MQTT is the most powerful advanced feature in Meshtastic and one of the least documented. It bridges your LoRa mesh to the internet, unlocking remote monitoring, mesh-to-mesh bridging, Home Assistant integration, and custom dashboards.
The config is straightforward once you know the moving parts. Most people get tripped up on uplink vs. downlink and whether to use the public broker or run their own.
We run MQTT against a self-hosted Mosquitto broker for NodakMesh. What’s below mixes our setup with the common gotchas we’ve hit along the way. If you’re new to Meshtastic, start with the getting started guide before wiring up MQTT.
What Is MQTT and Why Does It Matter
MQTT (Message Queuing Telemetry Transport) is a lightweight messaging protocol designed for constrained devices and unreliable networks. It uses a publish/subscribe model. Devices publish messages to topics on a broker, and other devices subscribe to those topics to receive them.
For Meshtastic, MQTT means your LoRa mesh can talk to the internet. A node with Wi-Fi connectivity (ESP32 devices) publishes mesh traffic to an MQTT broker, making that data available to any internet-connected system.
What you can do with it
Once MQTT is running, you can track node positions and battery levels from your couch, bridge two mesh networks in different towns through the internet, pipe sensor data into Home Assistant for automations, or build Grafana dashboards that show signal quality trends over weeks. Some people build custom bots that respond to mesh messages via MQTT. The possibilities open up fast once the data is flowing to a broker.
How it works
The data flow is straightforward.
- Uplink. A Wi-Fi-enabled node receives a LoRa packet and publishes it to the MQTT broker.
- Broker. The MQTT broker stores and distributes the message to all subscribers.
- Downlink. The same (or different) Wi-Fi-enabled node subscribes to the broker and injects received messages back into the LoRa mesh.
This creates a bidirectional bridge. Messages can flow from LoRa to internet and back.
Prerequisites
Before setting up MQTT, you need:
- An ESP32-based Meshtastic device. MQTT requires Wi-Fi, which is only available on ESP32 hardware (Heltec V3, V4, T-Beam, T-Deck, Station G2). nRF52 devices (RAK4631, T-Echo) don’t have Wi-Fi and can’t run MQTT.
- A Wi-Fi network. The device needs internet access through a 2.4 GHz Wi-Fi network.
- Current firmware. Update to the latest stable firmware. See our firmware guide.
- An MQTT broker. Either the public Meshtastic broker or your own self-hosted broker.
Step 1: Enable Wi-Fi on Your Device
Your Meshtastic device needs Wi-Fi to reach the MQTT broker.
Via the Meshtastic app
- Connect to your device via Bluetooth
- Go to Settings > Network
- Enable Wi-Fi
- Enter your Wi-Fi SSID and password
- Save and reboot
Via CLI
meshtastic --set network.wifi_enabled true
meshtastic --set network.wifi_ssid "YourNetworkName"
meshtastic --set network.wifi_psk "YourPassword"
After reboot, verify the device connected to Wi-Fi by checking the device info screen (it should show an IP address) or run meshtastic --info.
Step 2: Enable MQTT
Via the app
- Go to Settings > MQTT
- Enable MQTT
- Set the broker address:
- Public broker:
mqtt.meshtastic.org(default) - Self-hosted: Your broker’s IP or hostname
- Public broker:
- Leave username and password blank for the public broker
- Save
Via CLI
meshtastic --set mqtt.enabled true
meshtastic --set mqtt.address mqtt.meshtastic.org
For a self-hosted broker with authentication:
meshtastic --set mqtt.address 192.168.1.50
meshtastic --set mqtt.username meshuser
meshtastic --set mqtt.password yourpassword
Step 3: Configure Channel Uplink and Downlink
MQTT is enabled per-channel. You decide which channels publish to MQTT (uplink) and which accept messages from MQTT (downlink).
Enable uplink on your primary channel
meshtastic --ch-index 0 --ch-set uplink_enabled trueThis publishes all traffic on channel 0 to the MQTT broker.
Enable downlink (optional)
meshtastic --ch-index 0 --ch-set downlink_enabled trueThis injects MQTT messages back into the LoRa mesh. Use with caution. If multiple nodes have downlink enabled, the same message gets injected multiple times, causing duplicates and wasting airtime.
Best practice. Enable uplink on multiple nodes for redundancy, but enable downlink on only one node per mesh to avoid duplicate injections.
Step 4: Choose JSON or Protobuf Encoding
Meshtastic publishes to MQTT in two formats.
- JSON. Human-readable, easy to work with in Node-RED and Home Assistant. Slightly larger messages.
- Protobuf. Compact binary format. Better for high-traffic meshes. Requires decoding.
Enable JSON (recommended for most users)
meshtastic --set mqtt.json_enabled trueJSON messages look like this on the broker:
{
  "channel": 0,
  "from": 1234567890,
  "id": 12345,
  "payload": {
    "text": "Hello from the mesh!"
  },
  "sender": "!abcdef01",
  "timestamp": 1712505600,
  "to": 4294967295,
  "type": "text"
}
MQTT Topic Structure
Meshtastic publishes to topics following this pattern:
msh/{region}/{channel_index}/{encoding}/{channel_name}/{node_id}For example:
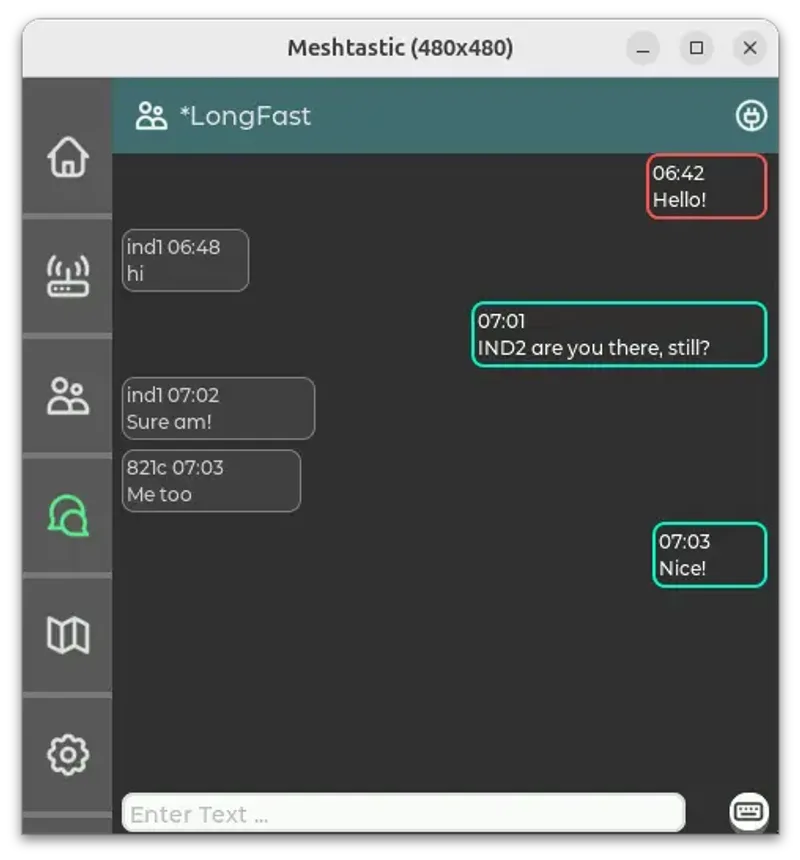
msh/US/2/json/LongFast/!abcdef01msh. Meshtastic prefixUS. Region code2. Channel indexjson. Encoding (json or proto)LongFast. Channel name!abcdef01. Sender node ID
Subscribe to msh/US/2/json/# to receive all JSON traffic from your region.
Public vs Self-Hosted Broker
Use the public broker while you’re getting started. It works immediately with zero setup. The downside is that anyone can subscribe to the same topics and see your traffic. Metadata and encrypted payloads both. Rate limits and occasional downtime are also real.
Once you have more than a handful of nodes or you’re passing anything you’d rather keep private, spin up Mosquitto on a Raspberry Pi or cheap VPS. It takes 10 minutes and you’ll never go back.
Setting up Mosquitto (self-hosted)
Mosquitto is the most popular open-source MQTT broker.
Install on Ubuntu or Debian:
sudo apt update
sudo apt install mosquitto mosquitto-clients
sudo systemctl enable mosquitto
sudo systemctl start mosquitto
Configure authentication:
sudo mosquitto_passwd -c /etc/mosquitto/passwd meshuserCreate /etc/mosquitto/conf.d/meshtastic.conf:
listener 1883
allow_anonymous false
password_file /etc/mosquitto/passwd
Restart Mosquitto:
sudo systemctl restart mosquittoThen point your Meshtastic device to your broker:
meshtastic --set mqtt.address your-server-ip
meshtastic --set mqtt.username meshuser
meshtastic --set mqtt.password yourpassword
Home Assistant Integration
Home Assistant can subscribe to Meshtastic MQTT topics to create sensors, automations, and dashboards.
Add MQTT integration
- Go to Settings > Devices & Services > Add Integration
- Search for MQTT
- Enter your broker details
Create sensors from mesh data
Add to your configuration.yaml:
mqtt:
  sensor:
    - name: "Mesh Node Battery"
      state_topic: "msh/US/2/json/LongFast/!abcdef01"
      value_template: "{{ value_json.payload.battery_level }}"
      unit_of_measurement: "%"
      device_class: battery

    - name: "Mesh Node Temperature"
      state_topic: "msh/US/2/json/LongFast/!abcdef01"
      value_template: "{{ value_json.payload.temperature }}"
      unit_of_measurement: "C"
      device_class: temperature
Automation examples
Alert when a node goes offline (no message in 30 minutes):
automation:
  - alias: "Mesh Node Offline Alert"
    trigger:
      platform: state
      entity_id: sensor.mesh_node_battery
      to: "unavailable"
      for: "00:30:00"
    action:
      service: notify.mobile_app
      data:
        message: "Mesh node !abcdef01 has been offline for 30 minutes"
Grafana Dashboards
Want graphs? Set up the Prometheus exporter and point Grafana at it.
Quick stack setup
- Meshtastic Exporter. Subscribes to MQTT and exposes Prometheus metrics.
- Prometheus. Scrapes and stores time-series data.
- Grafana. Visualizes the data in dashboards.
Community-maintained exporters are available on GitHub. Search for “meshtastic prometheus exporter” for the latest options.
What to watch
The most useful metrics are battery levels (catches dying nodes before they go dark), SNR trends (tells you if antenna performance is degrading), and channel utilization (shows when your mesh is getting congested). Node count and message rate are nice for dashboards but rarely actionable.
Troubleshooting
Device doesn’t connect to MQTT
- Verify Wi-Fi is connected (check for an IP address on the device screen)
- Confirm the broker address is correct and reachable from your network
- Check broker logs for connection attempts
- If using authentication, verify username and password are correct
Messages not appearing on broker
- Confirm uplink is enabled on the channel:
meshtastic --ch-index 0 --ch-get uplink_enabled - Verify JSON encoding is enabled:
meshtastic --get mqtt.json_enabled - Subscribe to a wildcard topic to see all traffic:
mosquitto_sub -h broker-ip -t "msh/#" -v
Duplicate messages on the mesh
Multiple nodes with downlink enabled inject the same MQTT message into the mesh. Only enable downlink on one node per mesh.
High airtime after enabling MQTT
MQTT downlink can flood the mesh with internet traffic. Be selective about what you downlink. Consider enabling uplink only (no downlink) if you just want monitoring.
Security Considerations
- Use a private broker for anything beyond casual experimentation
- Enable TLS on your broker for encrypted connections (port 8883)
- Use strong passwords for broker authentication
- Don’t publish sensitive data on the public Meshtastic broker
- Be aware of channel encryption. MQTT traffic includes encrypted LoRa payloads. Without the channel PSK, an MQTT subscriber can see metadata (node IDs, timestamps) but not message content.
Who This Is For
If you want to remotely monitor your mesh, build dashboards, or integrate with home automation, MQTT is the fastest path and it’s worth the setup time.
If you just want to send text messages to your hiking group and you don’t care about data or integration, skip it. MQTT adds Wi-Fi dependency and complexity you don’t need for basic use.
If you’re bridging two geographically separate meshes, MQTT is essentially the only clean answer.
Quick Start
One node with Wi-Fi and JSON uplink enabled is all you need to start seeing traffic on the broker. The shortest path to a working setup:
- Enable Wi-Fi and MQTT on one ESP32 node
- Enable JSON uplink on your primary channel
- Subscribe with
mosquitto_subto see traffic flowing - Build from there. Home Assistant, Grafana, or custom apps.
For channel configuration details, see our channels and MQTT guide. For CLI commands, see the CLI guide. For firmware updates, see the firmware guide.
Comments
Related Posts
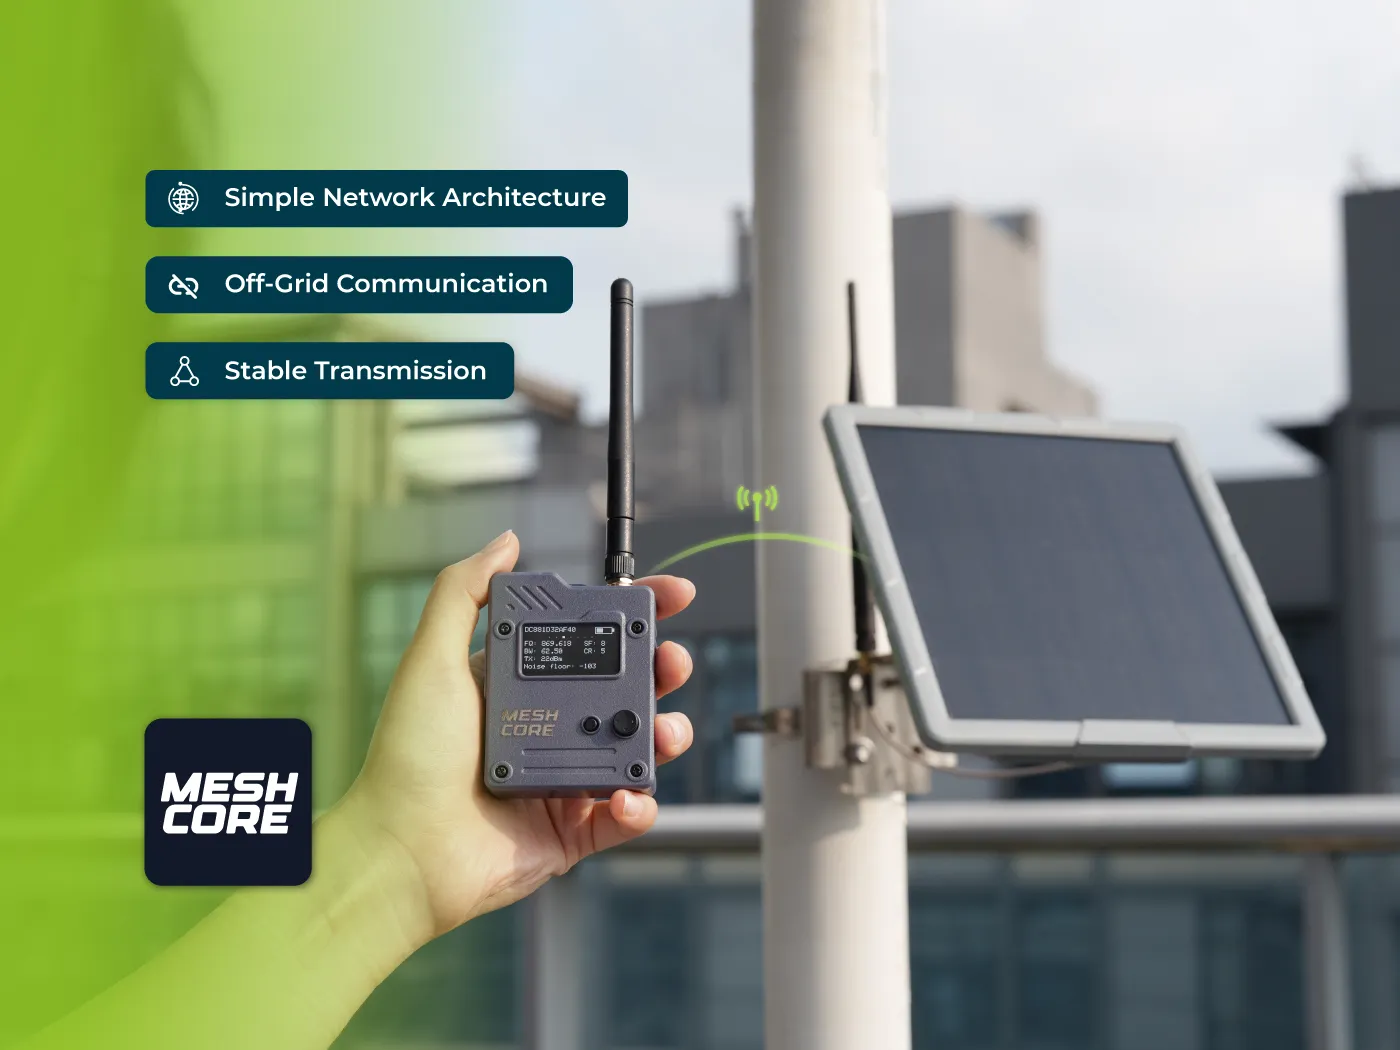
Seeed MeshCore Starter Kit: Solar Repeater + Client Bundle
Seeed's MeshCore Starter Kit bundles a solar repeater and Wio Tracker L1 Pro into one off-grid mesh. Antenna picks, setup tips, and who it's for.
MeshCore Path Hash Modes Explained: 1, 2, and 3 Byte
How MeshCore's 1, 2, and 3 byte path hashes work, why 1-byte collides at scale, and when to switch. Guide to path.hash.mode for growing meshes.

Meshtastic Range Test: Map Your Mesh Coverage
Measure and map Meshtastic coverage with the range test module, trace route, signal metrics, and MeshMapper. Field tips for flat-plains deployments.